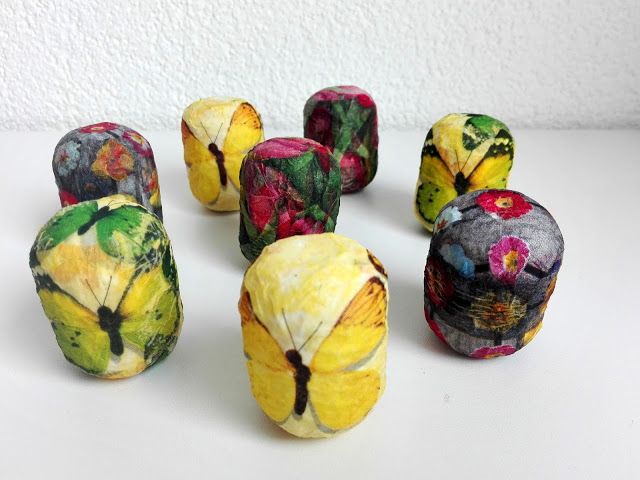
I was once again making the order in our crafts equipment and suddenly several yellow plastic eggs from Kinder Surprise tumbled out of the box. For a long time I had no idea what to do with them (after all, we´ve already made the Minions), but then I thought that I could make a Christmas gift for our smallest from them – the sound memory game.
Moms of more children may know this dilemma what to give the youngest member of the family as a present at Christmas when:
a) Christmas is still beyond their understanding
b) but you really want to have a present for him/her to the older siblings weren´t surprised that the youngest one has nothing under the Christmas tree
c) you already have so many toys, children’s books, and clothes after older siblings that you have nowhere to store them.
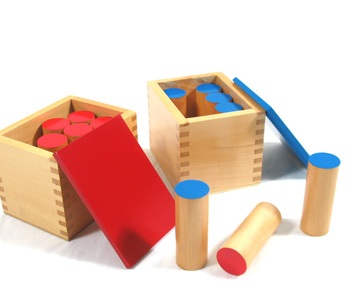
And how sounds memory game came into my mind? We were recently hit by a wave of autumn colds and coughs, so I stocked our household up on all sorts of citrus fruits. Just when I was in the kitchen squeezing an orange, our younger son appeared and wanted to try it too. It was then that I remembered how I had once visited the Montessori workshop with my older son (that time the only child). As a good new mother, I was looking for various ways in which to educate him from his early age not to be a totally “bad mother” among other mothers. So in the workshop, we were shown – in addition to the activities in which we can develop the childrens´ senses and psychomotor skills (eg. by squeezing oranges) various tools with which we can do this. Of course, these educational toys were not for free, even though the principle of their using was very simple. To be honest, I’m not a supporter of buying expensive educative toys just because one educational direction now trendy. And especially when I can do a similar at home and practically for free. So I searched the internet and decided to make my own variation on the Montessori sound cylinders.
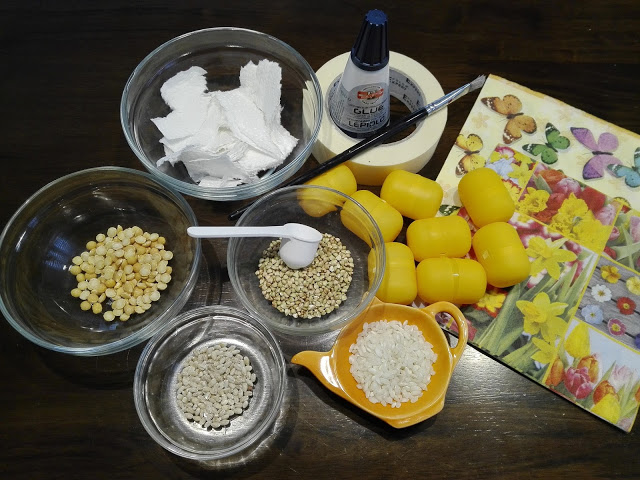
Supplies
- yellow plastic eggs from Kinder Surpise
- kitchen towels
- decorated napkins
- paper adhesive tape
- glue
- measuring spoon
- brush
- peas, rice, hulled grains, buckwheat (sand, stones, jingle bells…)
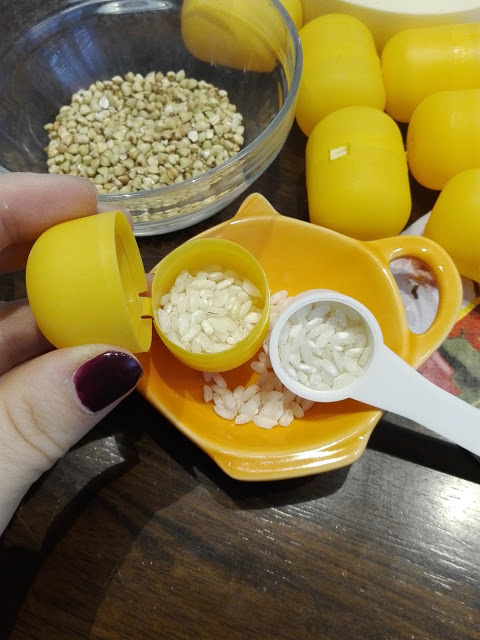
Step 1
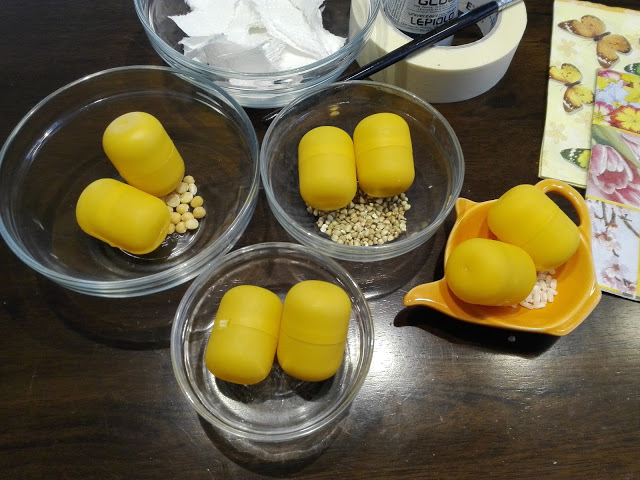
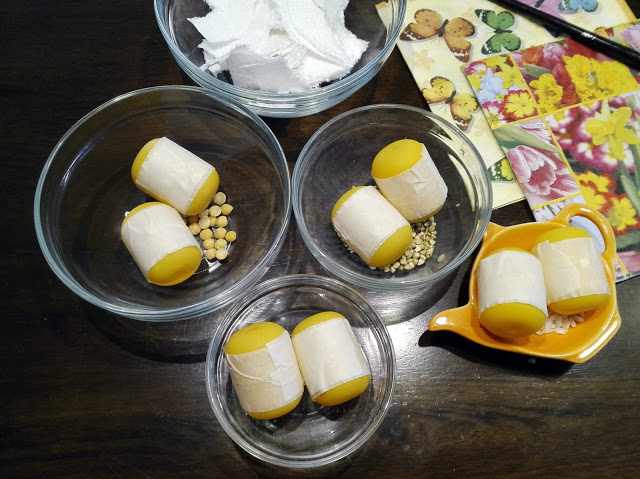
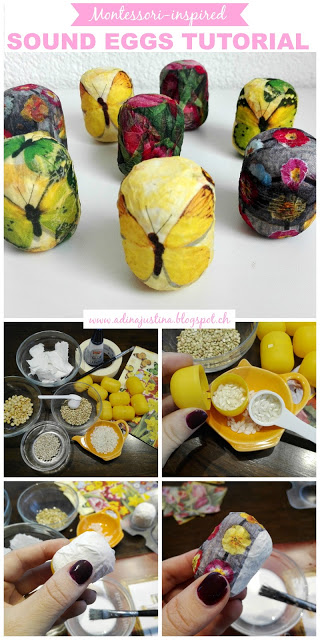
Fill two plastic eggs with the same objects, your imagination has no limits. I´ve used ingredients from our kitchen – peas, rice, hulled grains, and buckwheat. Put equal amounts in both so that the sounds of the matching pairs would be the same.
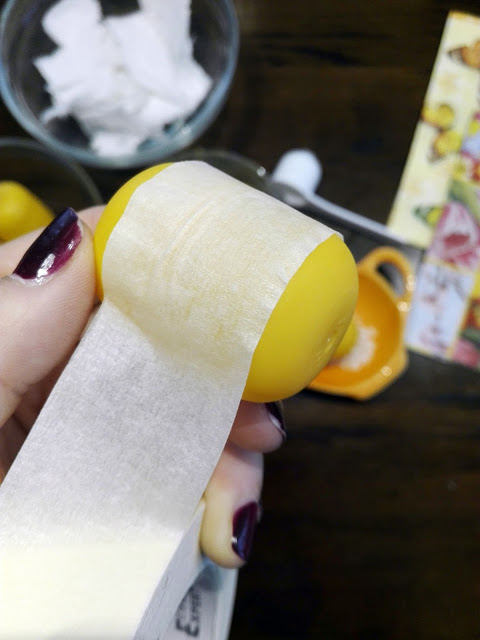
Step 2
Use the paper tape to paste the eggs together. This (and following layer of towels) will ensure that the child doesn´t get into the egg and wouldn´t be able to breathe or swallow its contents.
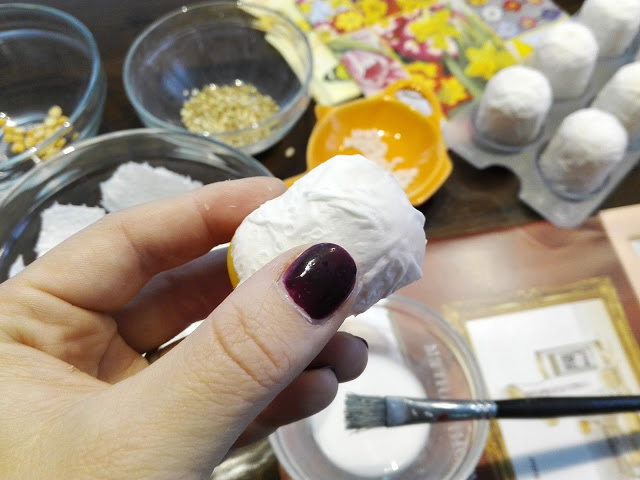
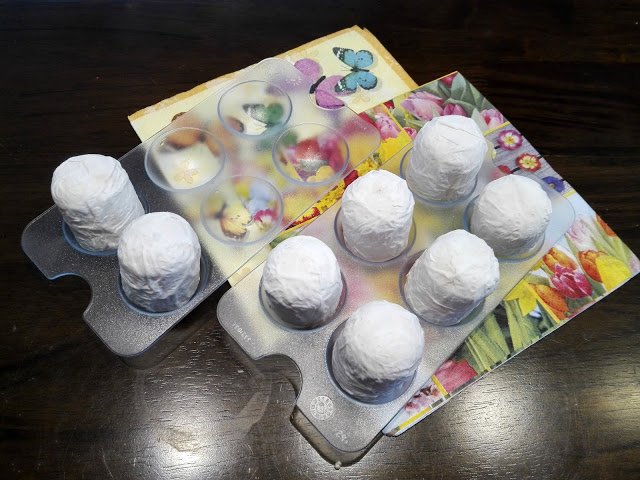
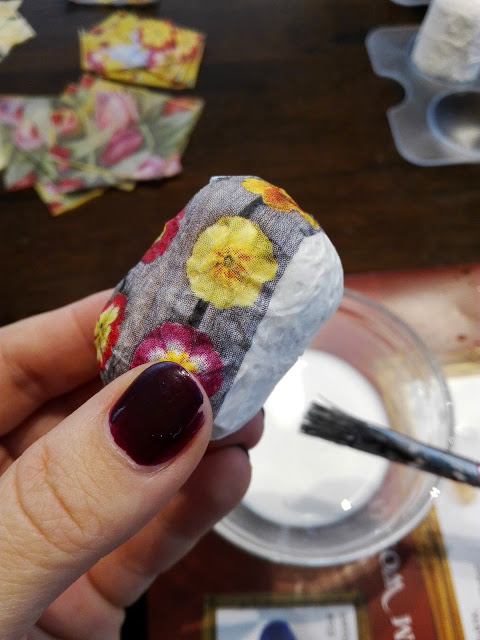
Then mix the glue with a little water and using a brush apply snippets of kitchen towels on the eggs. Let it dry (ideally overnight).
Step 3
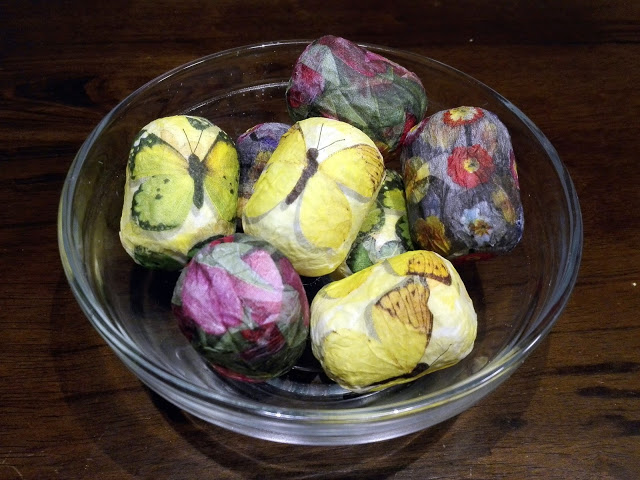
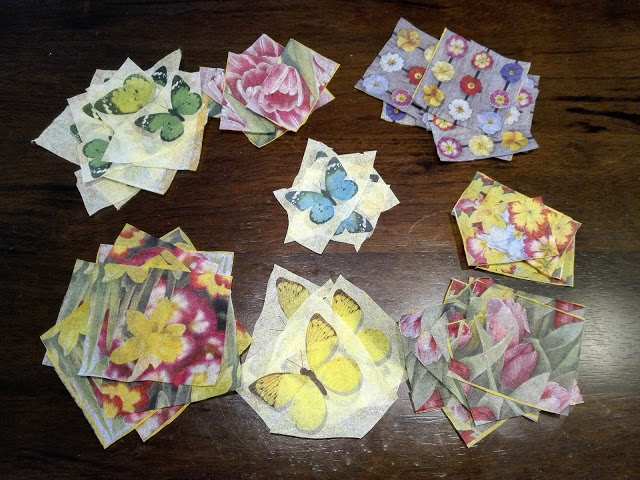
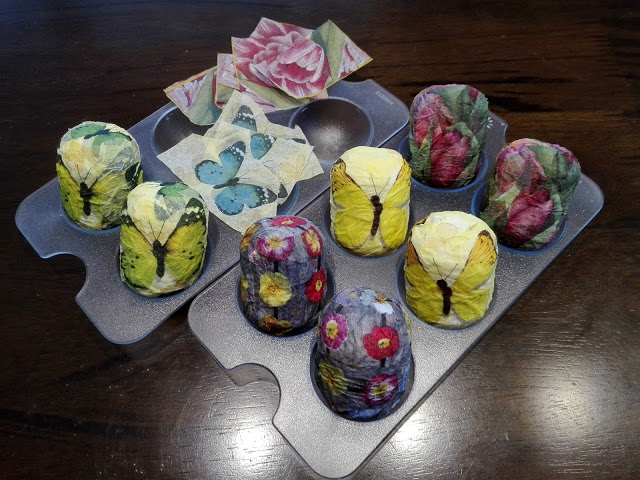
Cut the perforated edge from paper napkins and remove the two bottom layers. Then cut the napkins into smaller pieces with chosen motives. Then repeat Step 2 – using a brush, apply glue and pieces of napkins on the box. Let it dry properly.
Purpose of the game
The purpose of the sound-matching game is to help children concentrate by listening carefully and learn to distinguish between the different sounds. I think that eggs can also serve well as a musical instrument – you can shake out the rhythms while singing songs (uh, in our case, when playing them from CDs). So, what do you think of my very inexpensive project? I intend to make even more since I have napkins motives left-overs, but I have to wait until a new stock of yellow eggs 🙂
DON´T FORGET TO PIN THIS FOR LATER:
If you don´t want to miss any of my recent posts please sign up for my blog in the top right-hand corner of this page. Thank you 🙂
I will appreciate any time if you share my posts on Facebook or Twitter. It helps get my blog out to more people, who may like my posts.
And of course, I look forward to reading all your comments.



No Comments