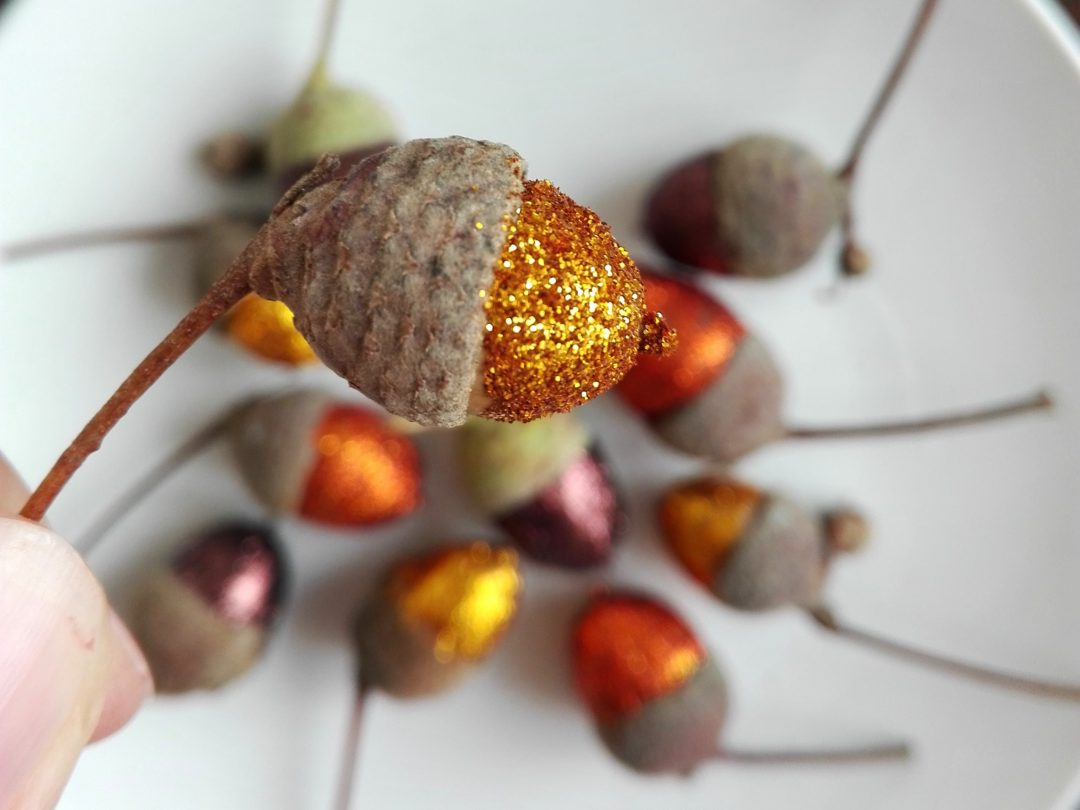
Námět na dnešní příspěvek mi dala moje sestra, která se mě v reakci na zaslané fotky z místního adventního trhu zeptala: “Prosím tě, co je to to barevné v těch kádích?”. Proto bych Vám ráda dnes představila jednu aktivitu pro děti, která je neodmyslitelnou součástí zdejších vánočních trhů. Continue Reading
tvoření
Continue Reading
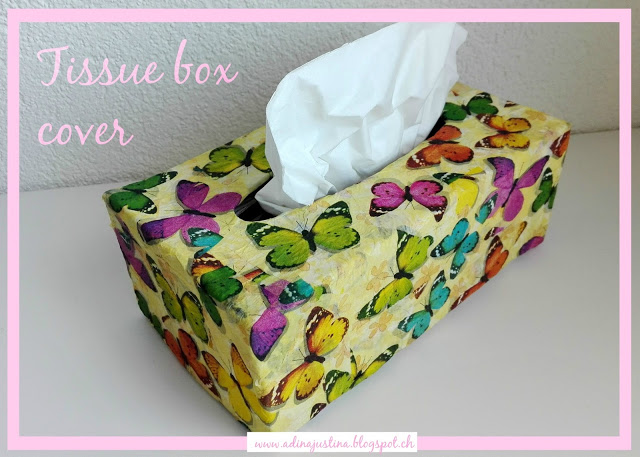
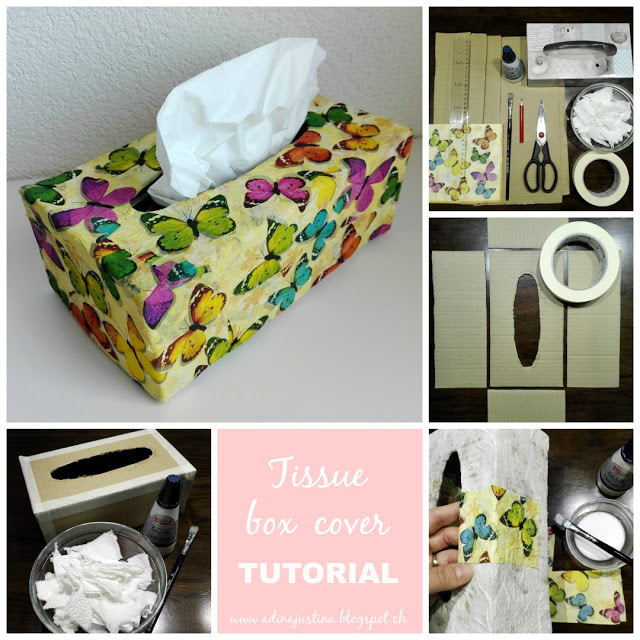
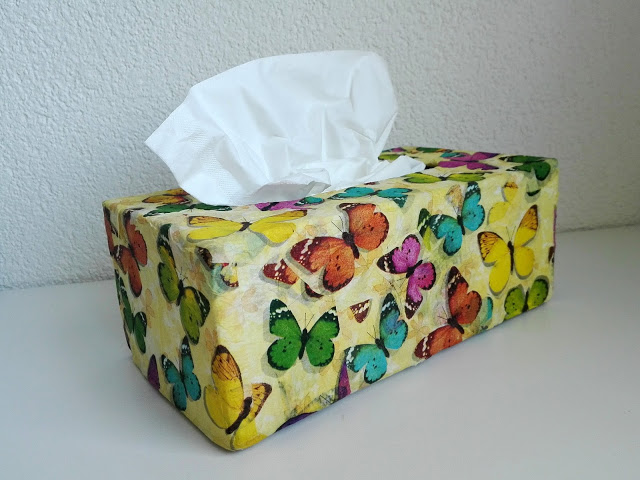
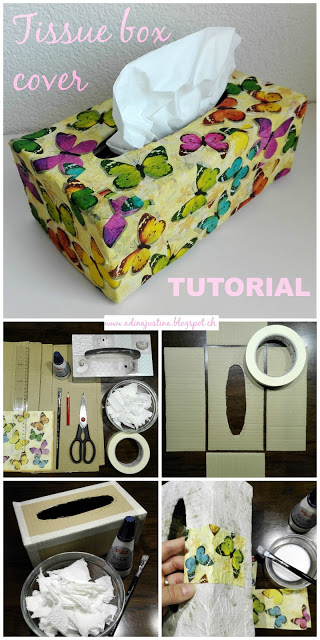
After the last post, which was on a little more serious topic, today I´d like to lighten the athmosphere a bit and therefore I bring you another of my DIY tutorials. Before going into making Christmas decorations, I decided to make a decorative tissue box cover. A this tutorial I´d like to show you in today’s post.
To make this box cover I used basically the same process as when I was doing organizer from cereals box (you can find the tutorial here), therefore I used decoupage technique.
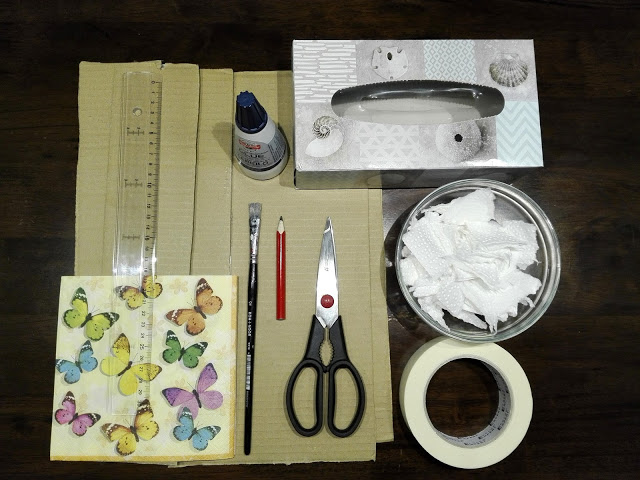
Co potřebujete/ Supplies
- prázdnou krabičku od papírových kapesníků (já jsem použila ty z DM) / empty box of tissues (I used a DM brand tissue box)
- lepenku, ideálně z krabice na balíky (dobrá výmluva objednat si další boty :)) / cardboard (a good excuse to buy more shoes ;))
- papírová lepící páska / paper adhesive tape
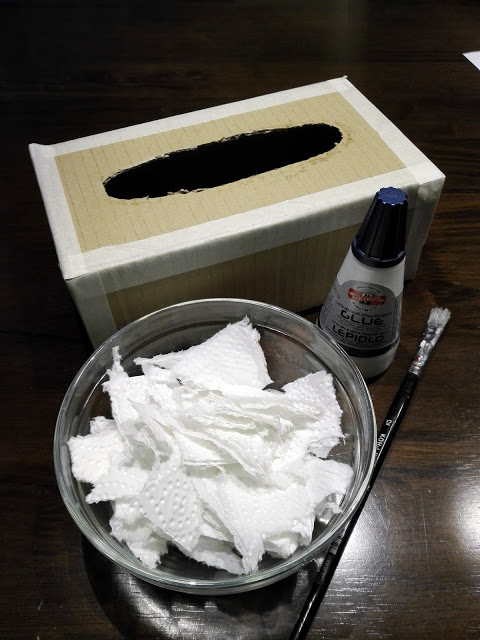
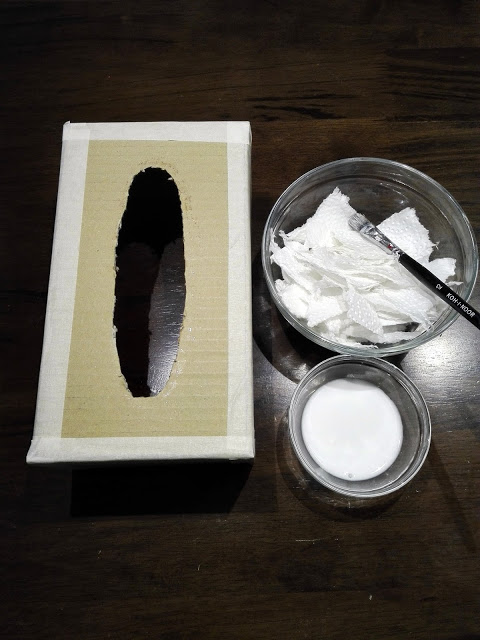
- ústřižky z kuchyňských utěrek / snippets of kitchen towels
- ozdobné papírové ubrousky / decorated napkins
- lepidlo, pravítko, plochý štětec, tužku, nůžky a třpytkové lepidlo (nepovinné :)) / glue, ruler, flat brush, pencil, scissors and glitter glue (optional)
Krok 1 / Step 1
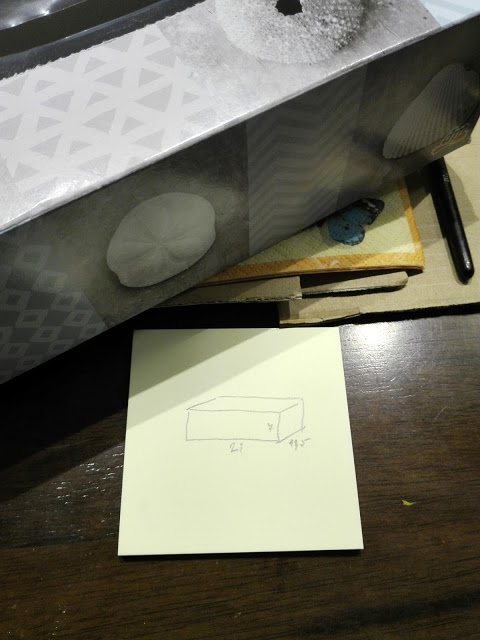
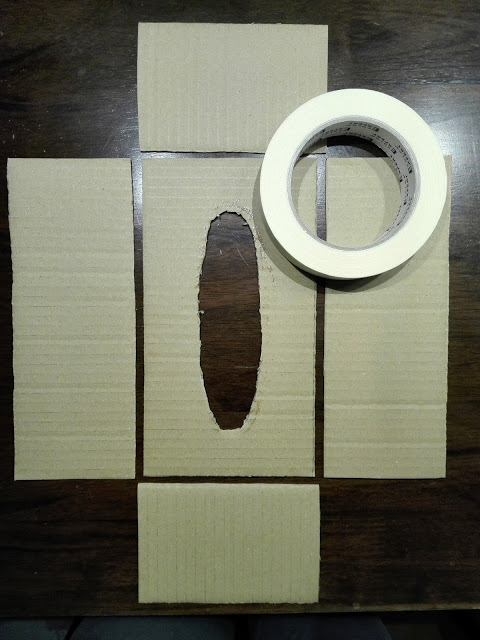
Measure your box, add about 0,5cm on each side and cut these measuments from cardboard. On the upper side, you must cut out an oval shape. It’s better to do before gluing the box together. Here I used the glitter glue, I traced an oval shape and then stamped it on to the cardboard. Then I cut it out with scissors.
Krok 2 / Step 2
Krok 3 / Step 3
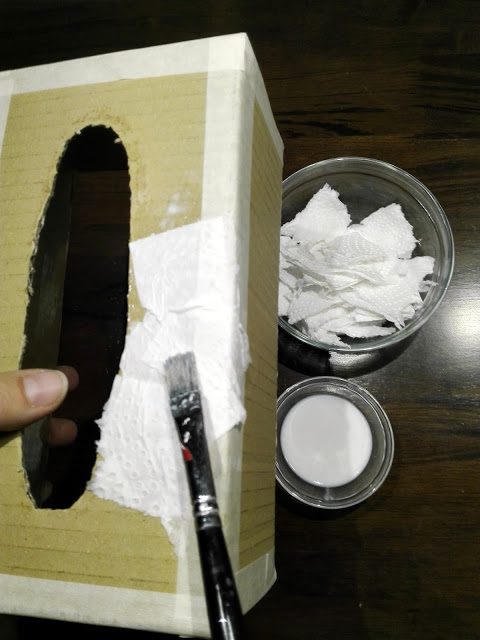
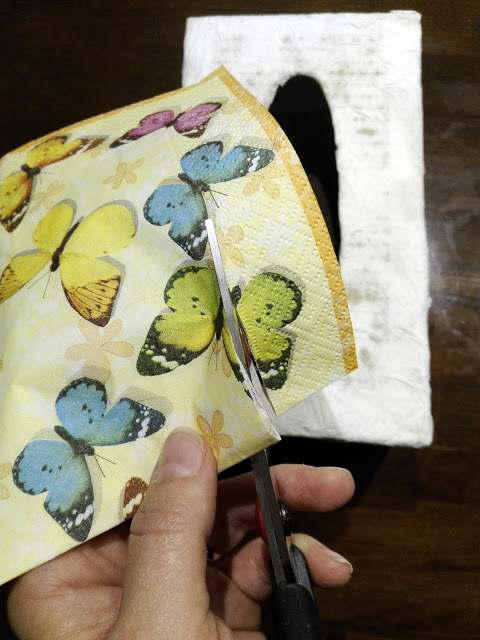
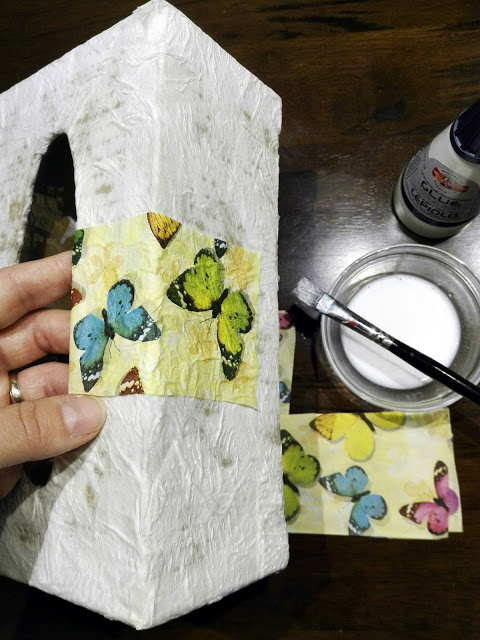
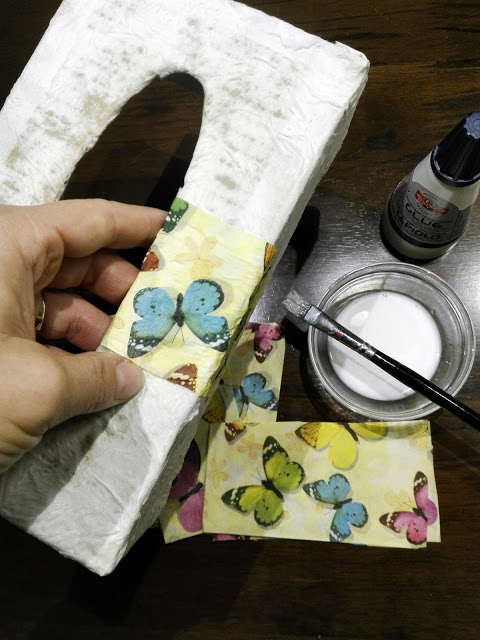
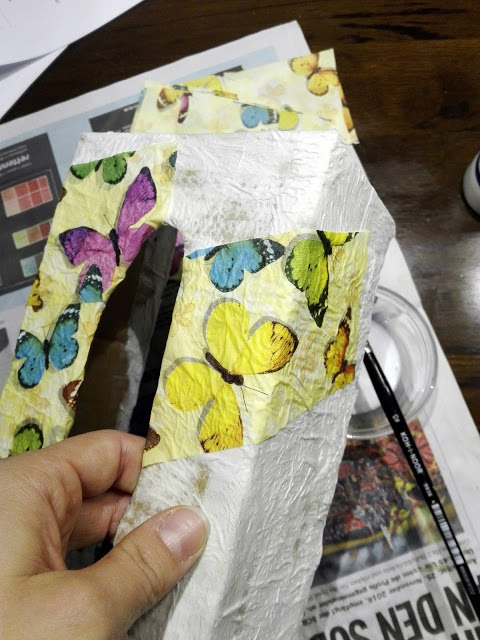
Z ozdobných papírových ubrousků odstřihněte perforované okraje a odstraňte spodní dvě vrstvy. Poté ubrousky nastříhejte na menší kousky. Následně zopakujte krok 2 – pomocí štětce a lepidla nanášejte kousky ubrousků na krabičku. Poté opět nechte pořádně zaschnout.
Cut the perforated edge from paper napkins and remove the two bottom layers. Then cut the napkins into smaller pieces. Then repeat Step 2 – using a brush, apply glue and pieces of napkins on the box. Let it dry properly.
Krok 4 / Step 4
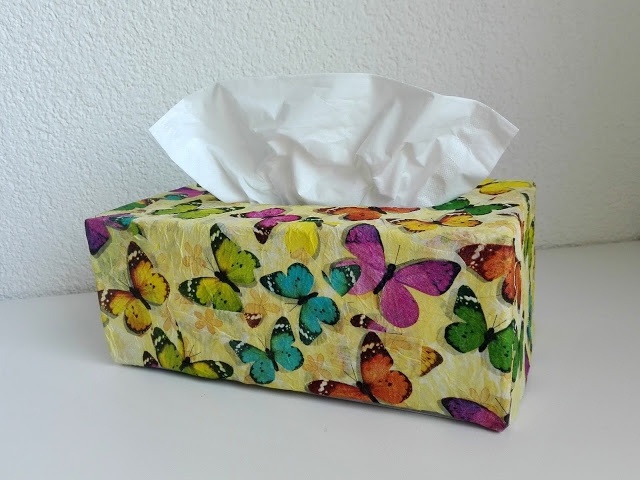
Dokonale vyschnutou krabičku nasaďte na váš box papírových kapesníčků a kochejte se novou ozdobou vaší domácnosti 🙂
Put your properly dried cover box the box of tissues and enjoy your new home decoration 🙂
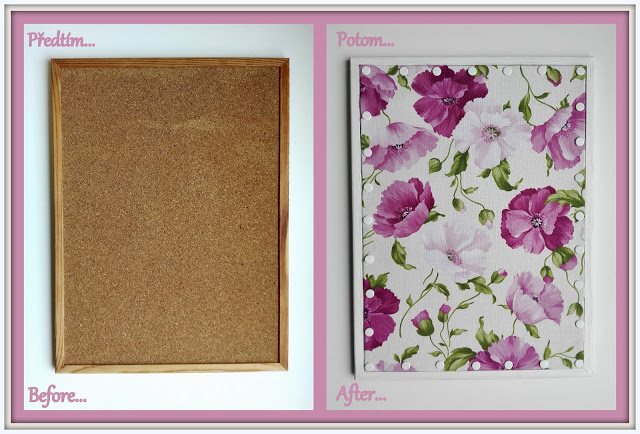
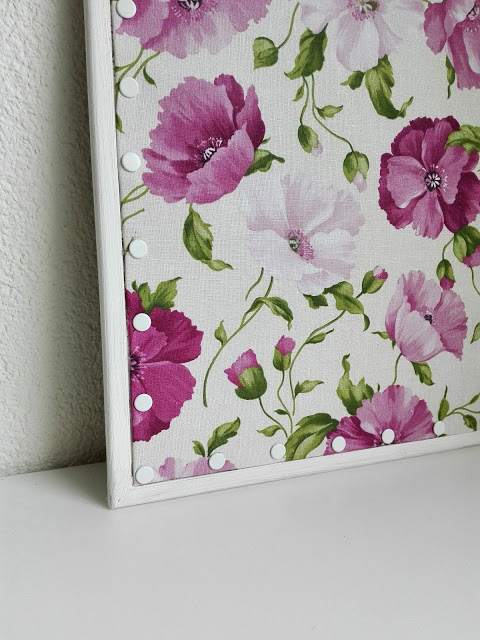
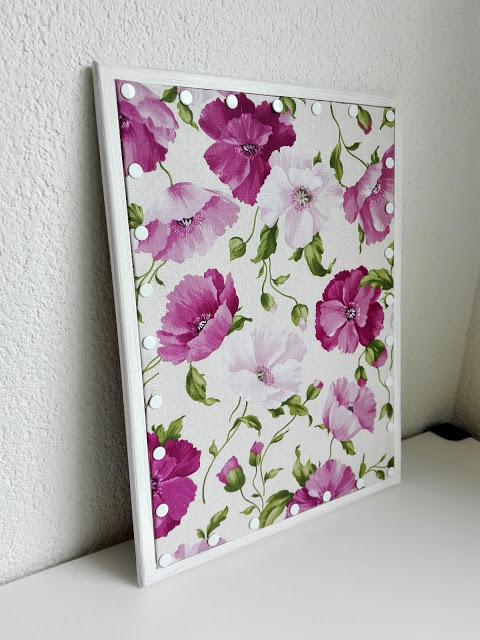
I have long toyed with the idea of giving our old cork bulletin board a new face, but somehow I still didn´t have time to do it. Until now, when I jumped into creating fall decorations, it was suddenly its turn. So today I bring you a tutorial on how to easily make a fabric covered cork board.
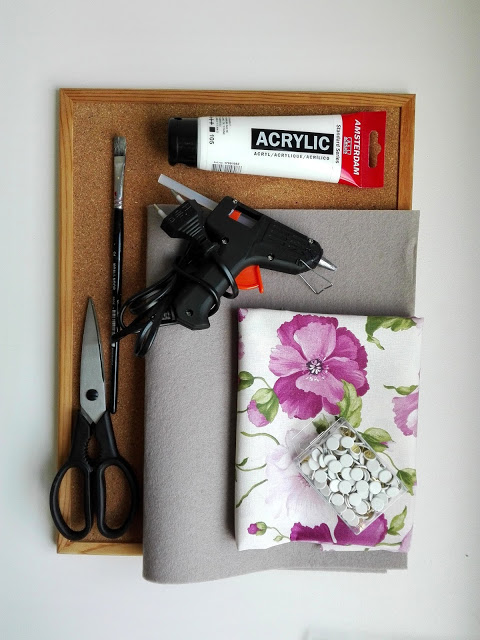
Co budete potřebovat / What you´ll need
- starou (nebo novou) korkovou nástěnku, kterou chcete předělat / old (or new) cork board to redo
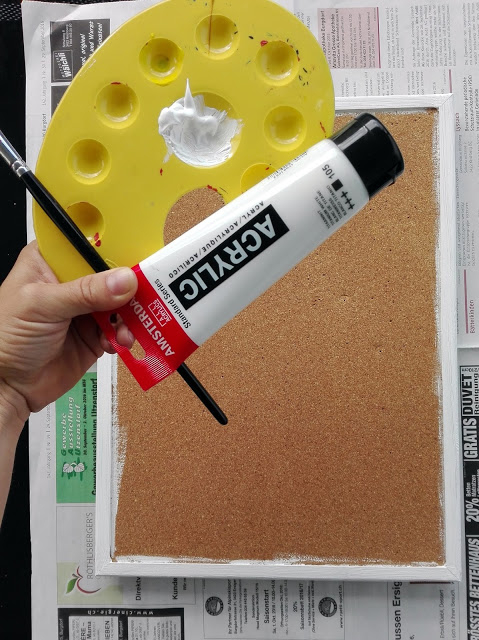
- bílou akrylovou barvu / white acrylic paint
- filc o rozměrech plochy nástěnky (bez rámu) / felt to cover the board
- látku dle vašeho výběru na překrytí filcu / fabric of choice to cover the felt
- bezbarvý matný akrylový sprej / matte acrylic spray
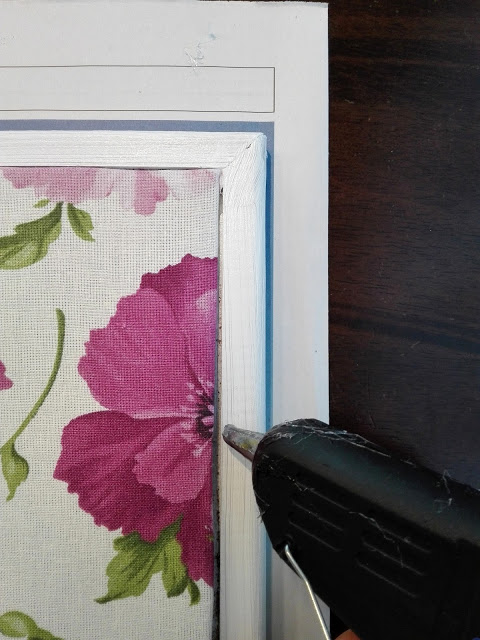
- tavnou pistoli a silikové tyčinky / glue gun and glue sticks
- připínáčky / pushpins
- tužku, nůžky, pravítko, štětec / pencil, scissors, ruler, brush
Krok 1 / Step 1
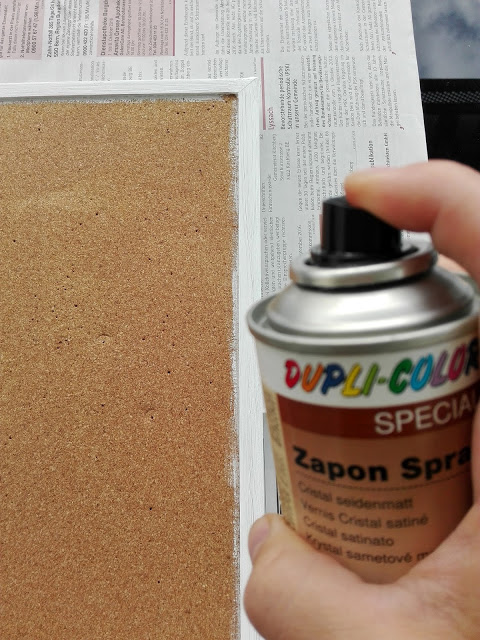
Když barva zaschla, nanesla jsem matný bezbarvý sprej – osvědčila se mi značka Dupli-Color.
Once the paint was dry, I wanted it to have a bit matte, so I used my favorite Dupli-color spray.
Krok 2 / Step 2
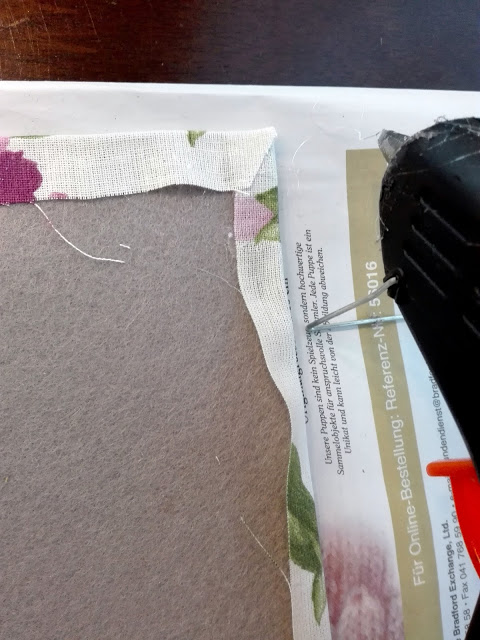
Krok 3 / Step 3
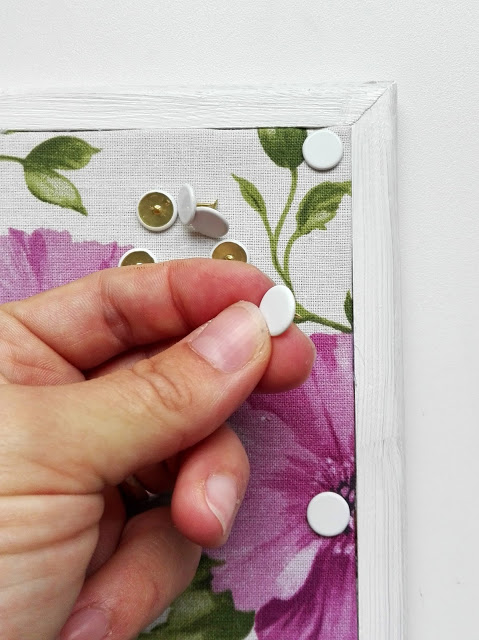
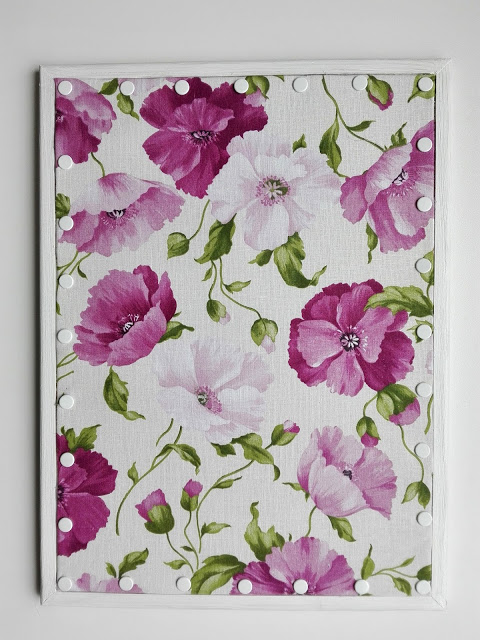
Now it was time to give the board a nice border (but it´s not necessary). I bought some decorative tacks and pinned them to the corners first, then to the middle of each side, and so on and so on, pulling the fabric tight. Since I didn´t use a ruler, the tacks are a bit uneven , but hope it´s not so visible 😉
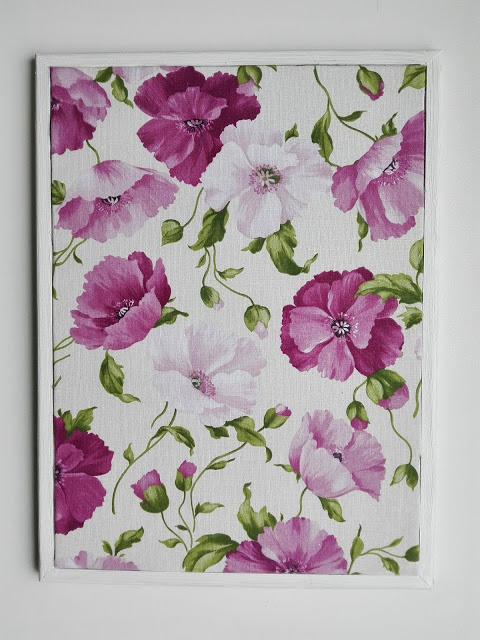
A je to! Super jednoduchá proměna korkové nástěnky je hotová! Jak se vám líbí? Myslím, že ji pověsím v kuchyni, anebo nechám v pracovně. Kam byste si ji pověsili vy? Napište mi to do komentářů!
And that’s it! You have an easy peasy fabric cork board redo. How cute is that? This would be great in a kitchen or office. Where would you hang it? Feel free to leave me a comment!
Budu ráda, kdykoli budete chtít sdílet moje příspěvky na Facebooku nebo Twitteru. Pomůže mi to dostat můj blog k dalším lidem, kterým by se také mohly líbit.
And of course, I look forward to reading all your comments.
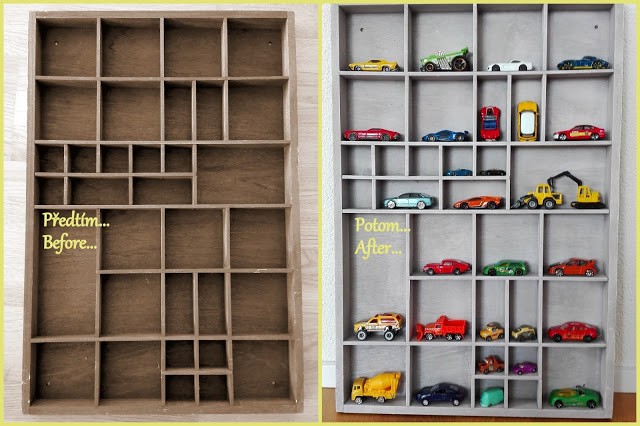
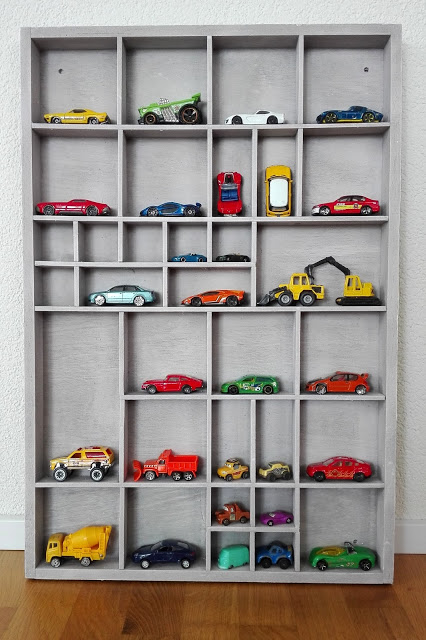
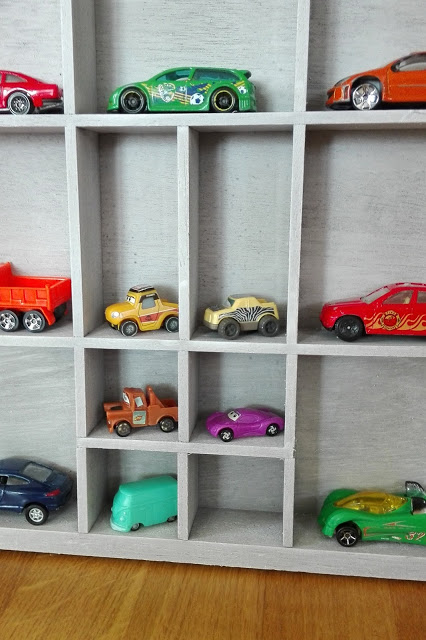
DIY – Starý tiskařský šuplík jako polička pro Hot Wheels auta – Vintage printers drawer as a Hot Wheels Cars display
Posted on 27.7.2016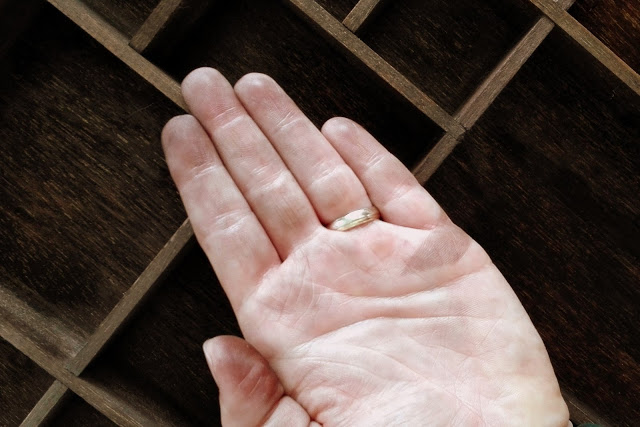 |
| Po čištění jsem barvu dost dlouho dostávala dolů/It was hard to get rid of the brown colour on my hands |
Pokud nechcete přijít o nejnovější příspěvky na mém blogu, staňte se jeho pravidelným čtenářem a zaregistrujte se na mém blogu v pravém horním rohu této stránky. Děkuji 🙂
If you don´t want to miss any of my recent posts please sign up for my blog in the top right hand corner of this page. Thank you 🙂
And of course I look forward to reading all you comments.
