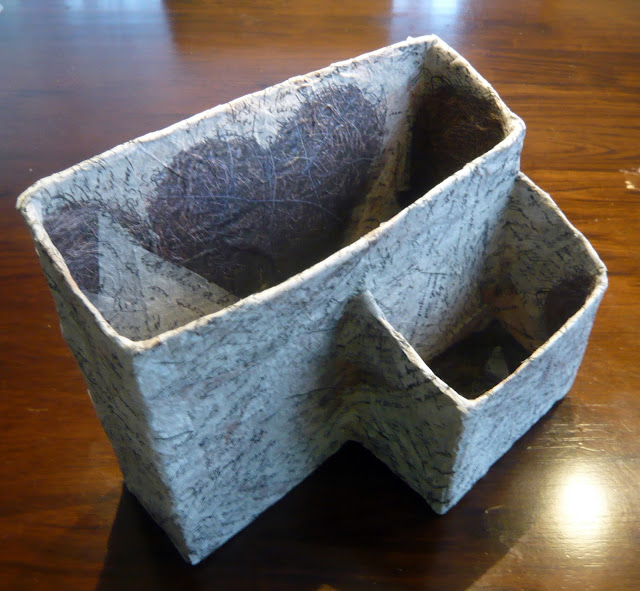
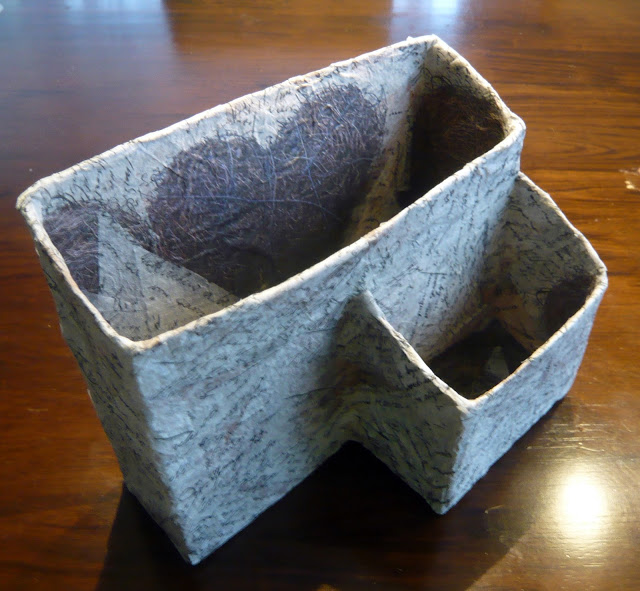
Slowly but constantly growing pile of different coupons, flyers and business cards that we began to pile on the microwave made me to create this organizer. So I thought it was time once again to sift through them and make them tidy. I threw most of them, but what about those that I will definitely use and want to have them on hand? At first I wanted to buy an organizer, but I found nothing fitting to the place where I wanted it to be. And so I decided to make my own “custom-sized” organizer.
Co potřebujete / Supplies:
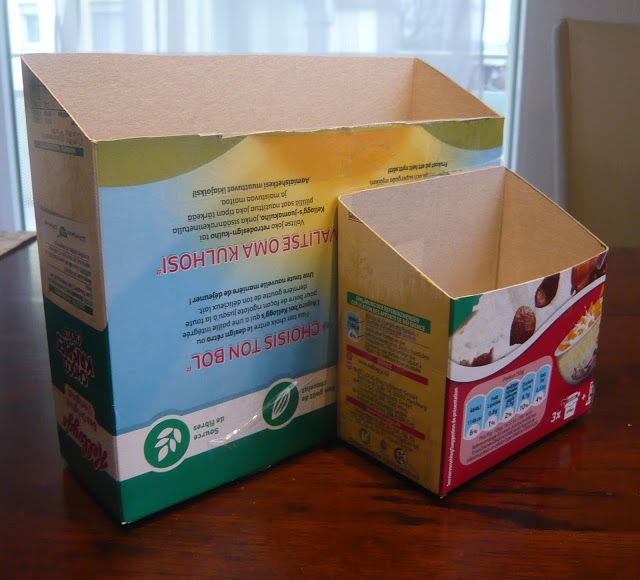
- Krabice od dětských cereálií / Kids cereal box
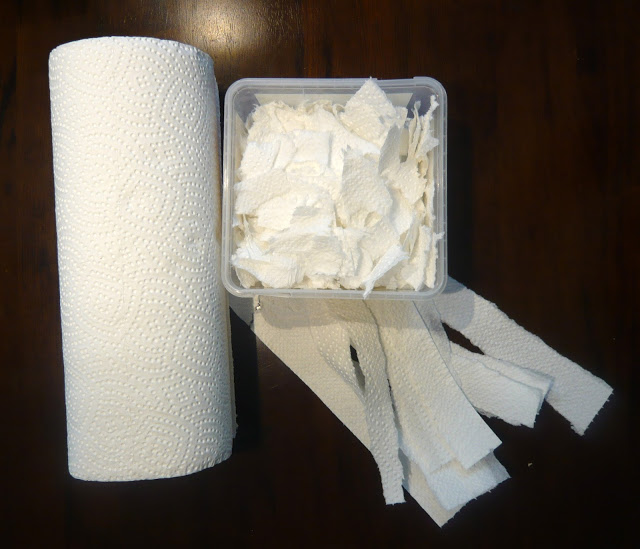
- útržky kuchyňských papírových utěrek / scraps of paper kitchen towels
- lepidlo / glue
- voda / water
- štětec / brush
- akrylové barvy / acrylic paints
- zdobené ubrousky / napkins with motif.
Krok 1 / Step 1
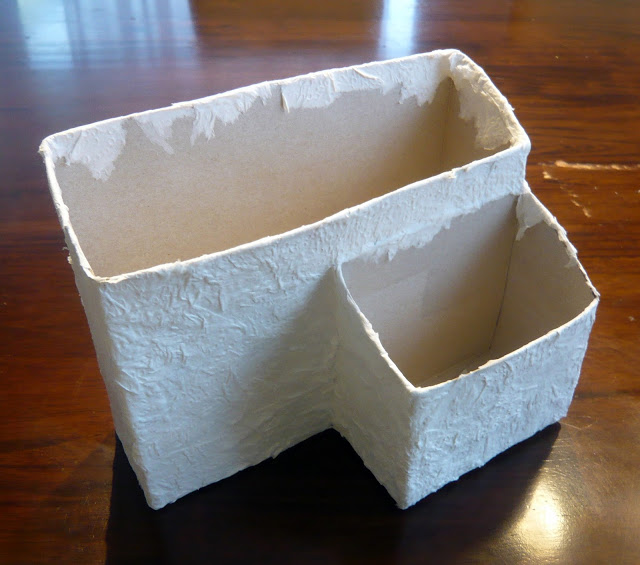
V první fázi jsem si krabici nastřihla do požadovaného tvaru a pak jsem slepila k sobě velkou a malou přihrádku.
Krok 2 / Step 2
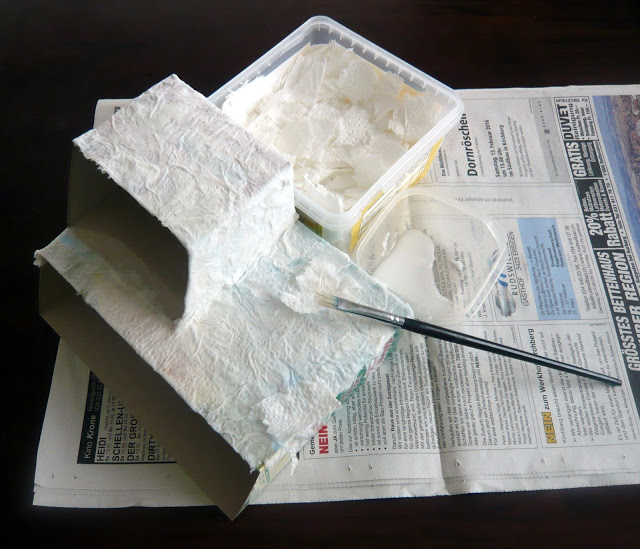
Potom nastala fáze dvě – natrhání kuchyňských utěrek na malé kousky. Tady je vhodné zapojit malé děti, protože si tak procvičí jemnou motoriku 🙂
Then came phase two – tearing kitchen towels into small pieces. Here I highly recommend to involve young children because they can practice their fine motor skills 🙂
Then I mixed the glue with water, dipped the brush into this mixture and started to add layers of paper towel´s snippets to the box. It takes a while, but then the result is firmer organizer. And (if you have eg. decoratively perforated towels) it also does a nice relief effect.
Krok 3 / Step 3
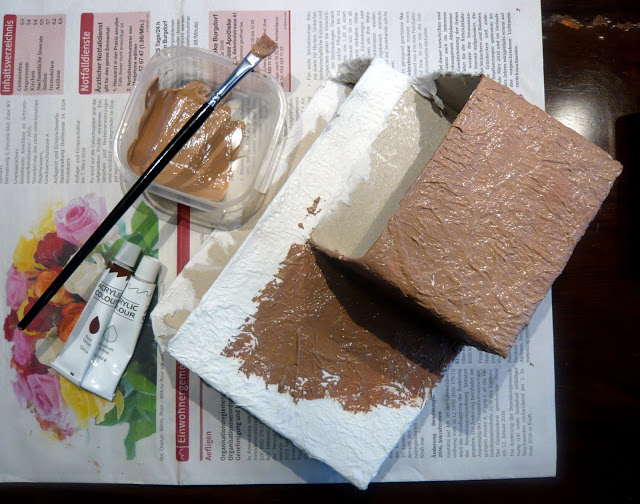
Jakmile byla krabice suchá (nejlepší je nechat ji vyschnout přes noc), rozhodla jsem se ji barevně natřít.
Once the box is dry (it´s best to let it dry overnight), I decided to paint it in color.
Krok 4 / Step 4
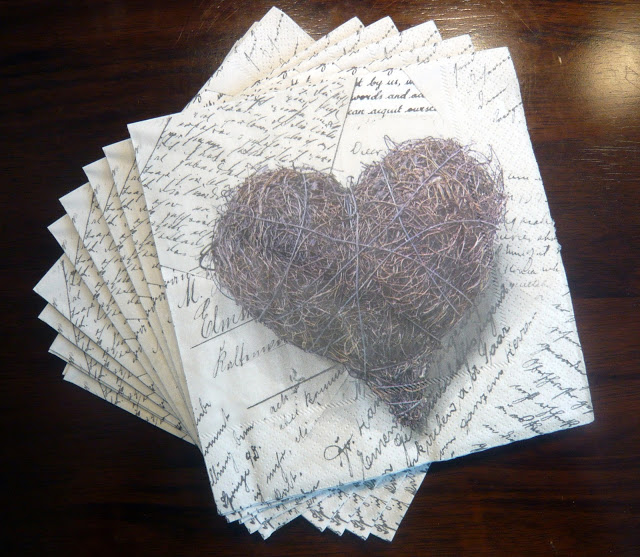
Mým úmyslem pro finální dekoraci bylo bílým sprejem nasříkat nějaký obrázek podle šablony, ale v obchodě jsem zahlédla ubrousky s krásným motivem, proto jsem se rozhodla znovu použít ubrouskovou techniku.
My intention for the final decoration was to spray it white with an image from a template, but then I saw these napkins with a beautiful motif in our local store, so I decided to reapply the Decoupage technique.
Tentokrát jsem ale nejdříve musela z ubrousků odstranit spodní dvě vrstvy a použila jen tu s motivem. Při potírání štětcem je důležité na ubrousek příliš netlačit, aby se nepotrhal. A opět je dobré nechat výrobek nejlépe přes noc zaschnout. A tradá – ručně vyrobený originální organizér je na světě! 🙂
This time, however, I first had to remove the two bottom layers of the napkin and used only the upper one with motive. When working with a brush is important now not to push too much on a napkin to rip. And again – it is good to let the product dry, preferably overnight. And cheers – handmade original organizer is here! :)
Máte i vy nějaký ručně dělaný výtvor, na který jste pyšní?

No Comments