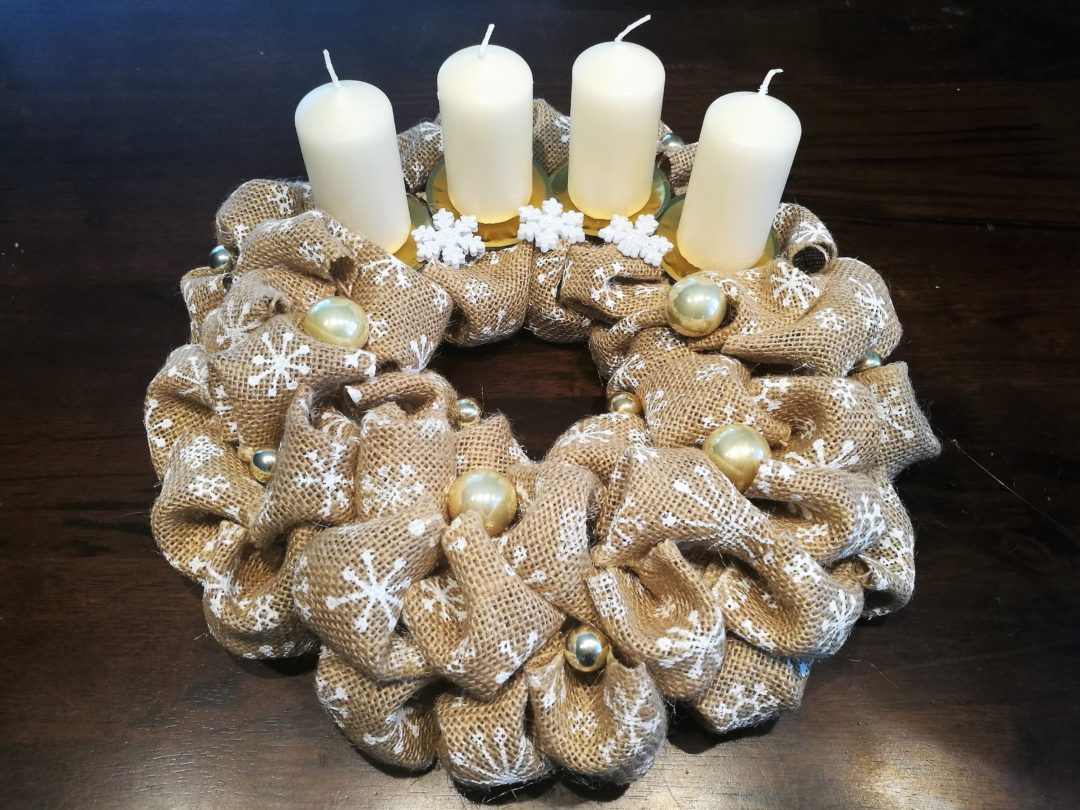
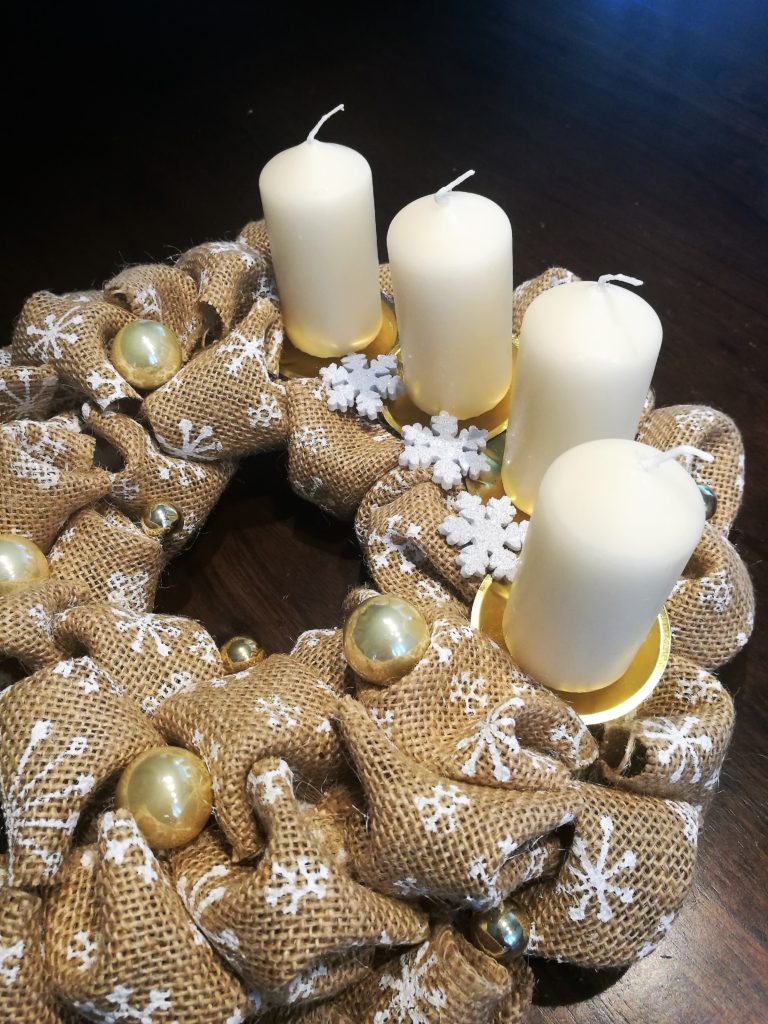
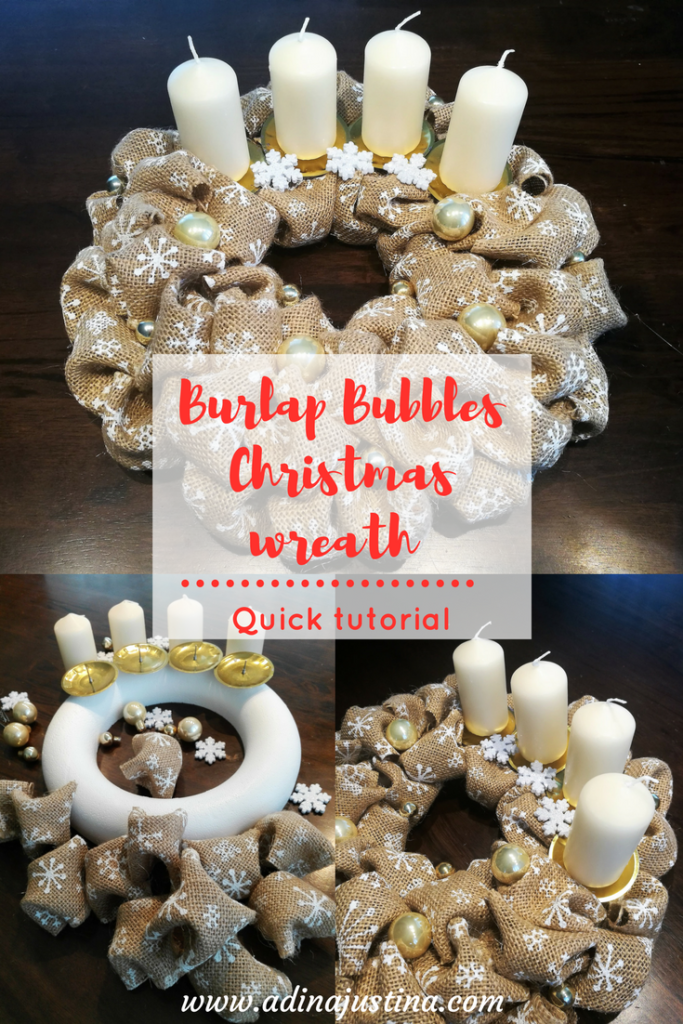
As you may have noticed on the blog, this year’s DIY crafts were in the spirit of jute (here, here and here). It is no wonder, therefore, that I decided to make a jute ribbon (or burlap) Christmas wreath. It´s really easy to make and I think the result is pretty awesome.
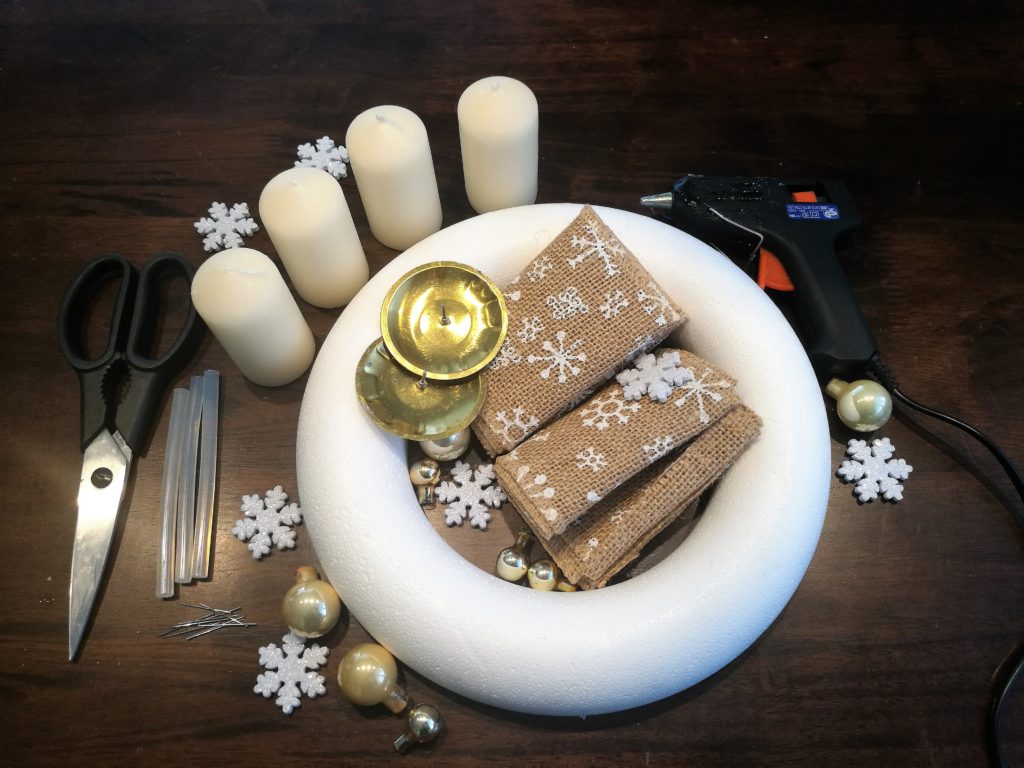
Supplies
- Foam wreath form (25cm diameter)
- Burlap ribbon with Christmas motif (length: 5m, width: 10cm; available here or here)*
- pins with small heads
- Hot glue gun & glue sticks
- Scissors
- Metal candle spikes
- 4 candles
- Decorations (sparkly holiday balls)
Tutorial
Step 1
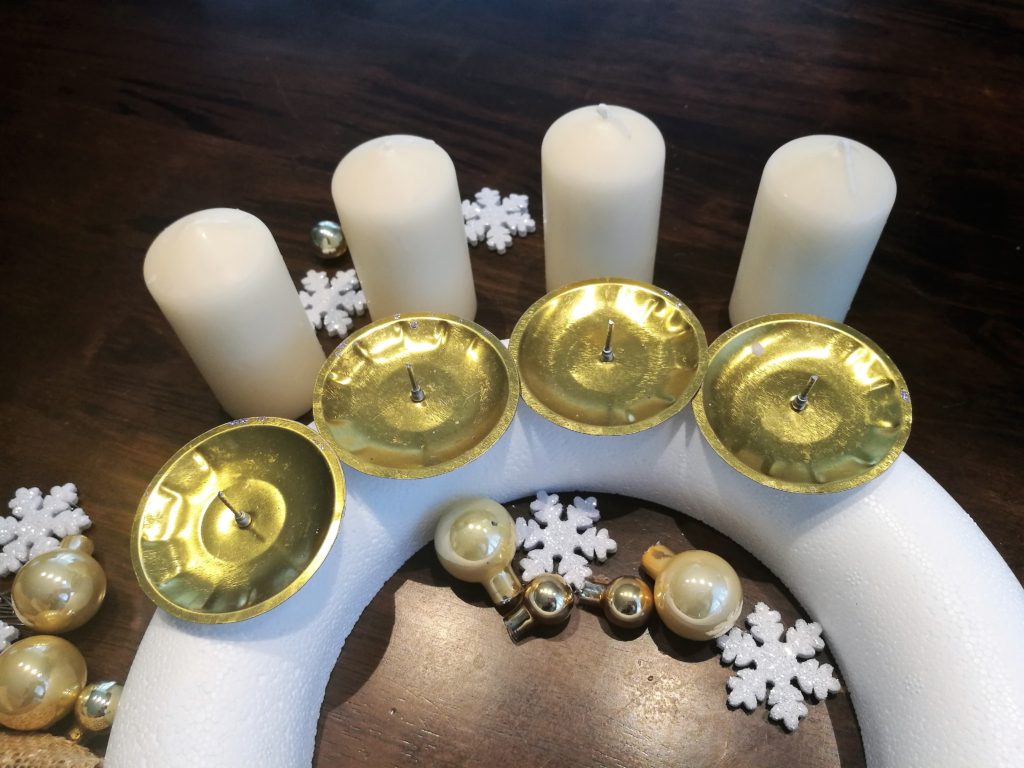
Start by placing candle spikes on the polystyrene form according to your imagination. I decided to have all four candles next to each other.
Step 2
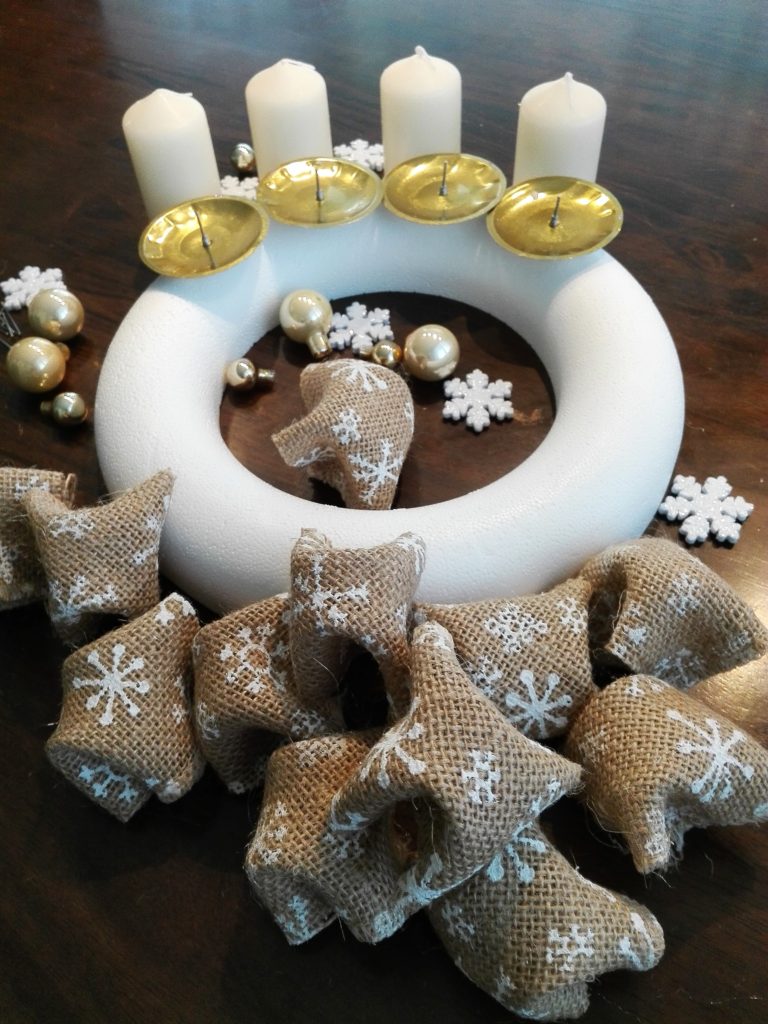
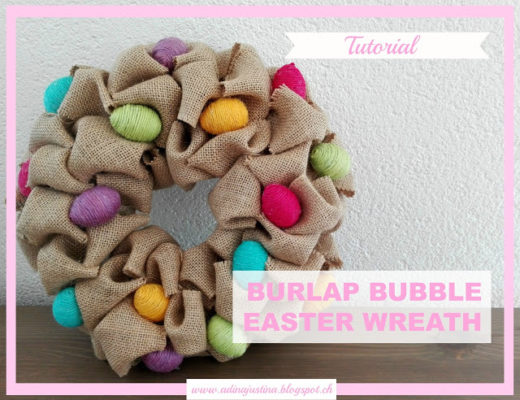
You may have registered that I created a very similar Easter wreath. The initial steps are the same. First, cut ribbons on 10x10cm squares.
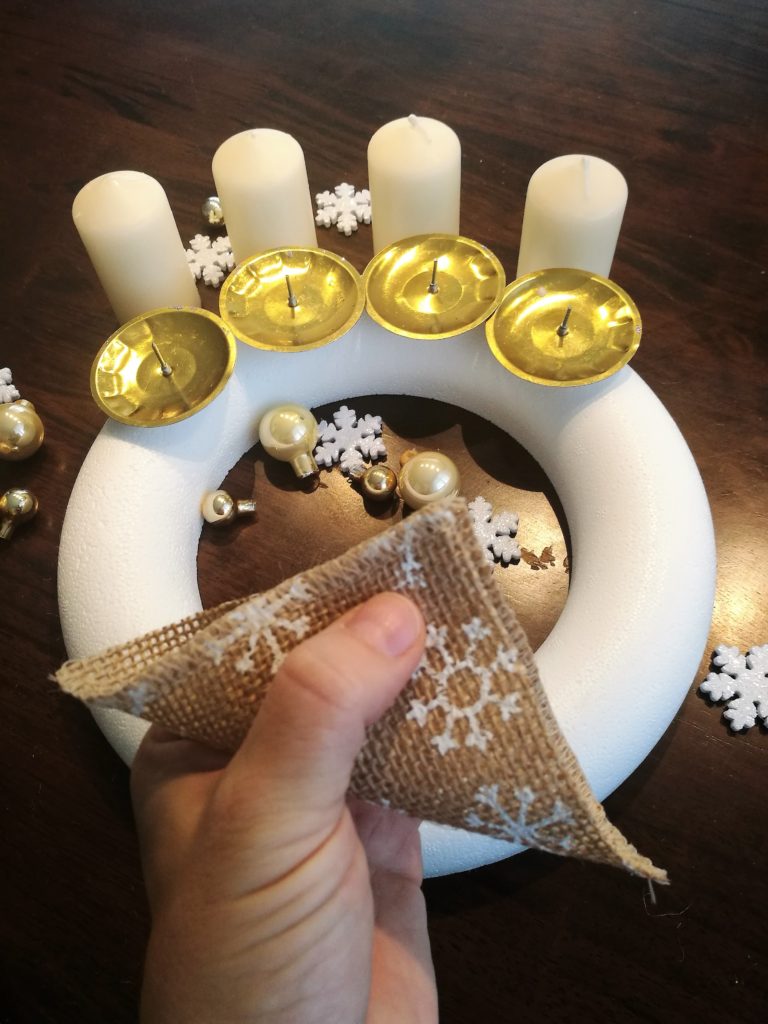
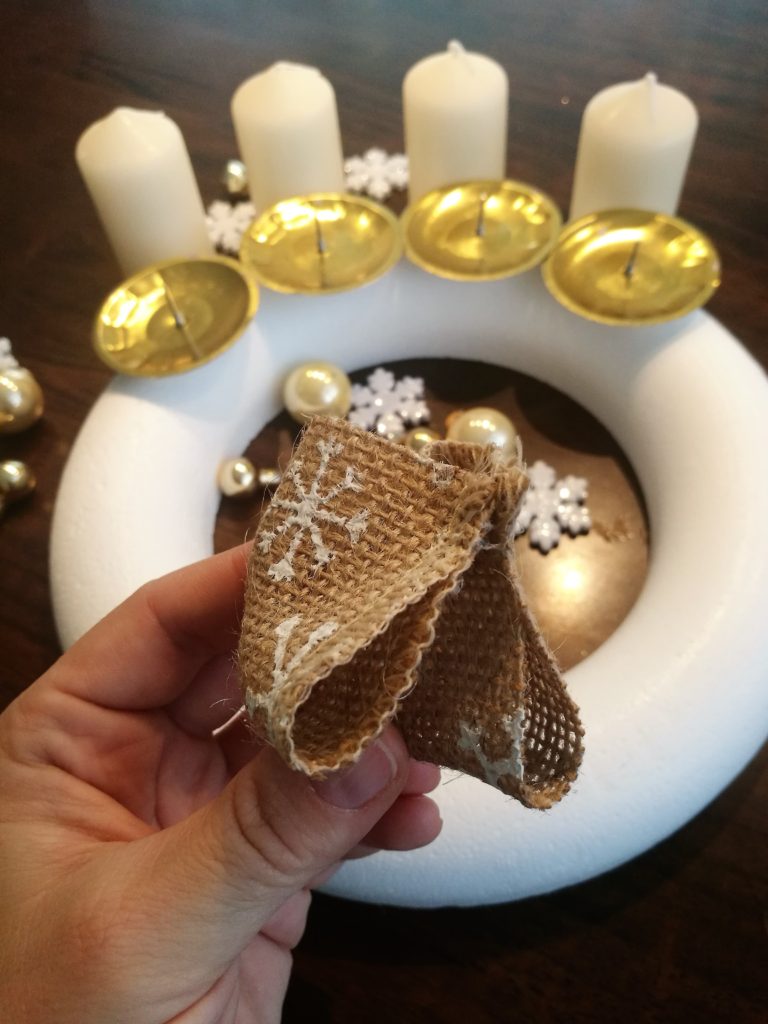
Take each square, fold it corner to corner to make a triangle, put a little hot glue and stick together.
Bring the sides together – put a pinch of glue to each corner, and fold both sides towards the center of your triangle.
Make lots of burlap bubbles 🙂
Step 3
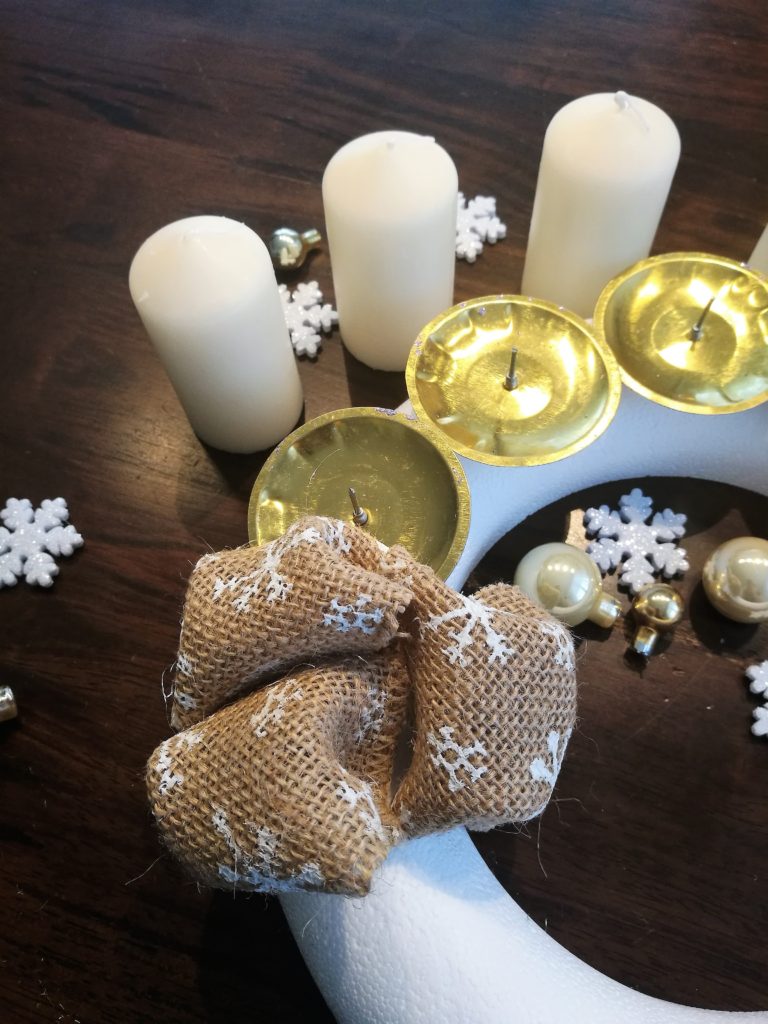
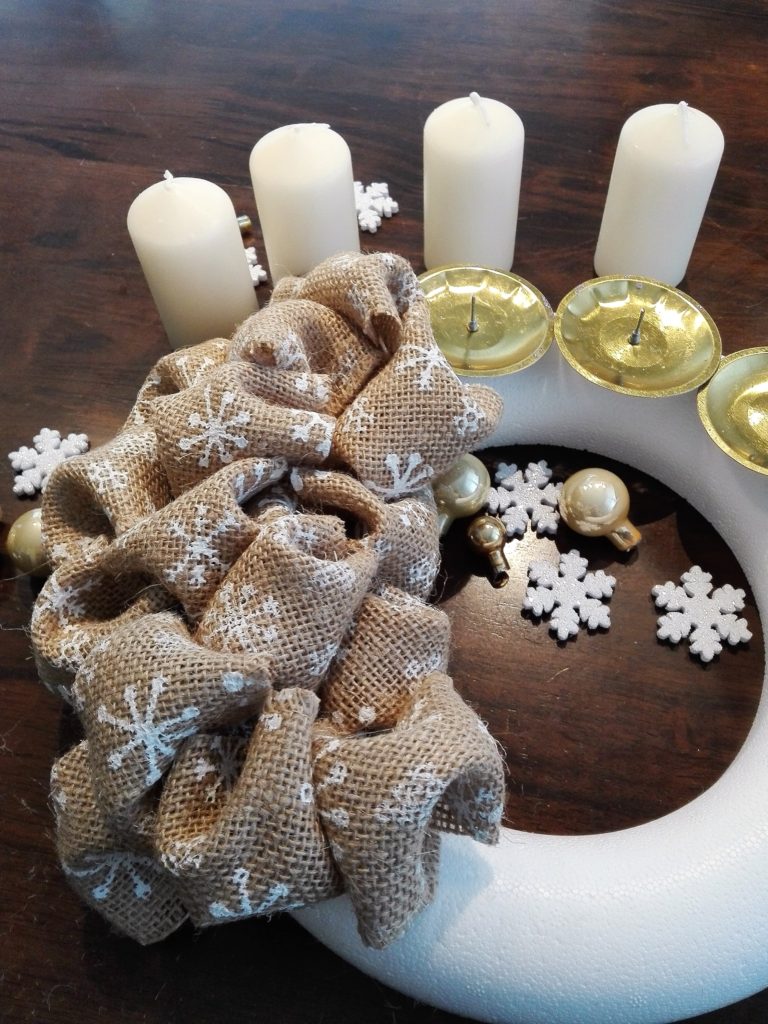
Then you take a pin and push it through the bottom edge and attach it to the form. I attached one to the top and then on each on the outer and inner side of the wreath. Keep pinning your bubbles until you have covered the wreath. They should slightly overlap not to see the form underneath (in that case just fluff the bubbles).
Step 4
Use a hot gun to add other decorations. I have bought these small holiday balls once in a small flower shop in Spořilov in Prague and since then I have used them repeatedly – you could have seen them here.
My tip
The seasonal decorations are best to buy right after the holiday, as they are also on sale as well as clothes and other items. The burlap ribbon used in this tutorial I bought back in January for a fraction of the original price, and at least I could look forward the whole year to making the wreath. If you like this burlap wreath tutorial, I will be happy if you share it with others. Maybe on Pinterest where you can pin the following picture 🙂
*both links are affiliate links. When you click on them and buy the product, I get a small commission from your purchase.

20 Comments
Herrero
18.11.2017 at 11:41Thats so beautiful Hana !!!
Pure art !!!!
Xxxx💚💋👍👍👍👍👍
Hanka
20.11.2017 at 15:50Thank you, Itzi! 🙂
Keri
20.11.2017 at 14:27That wreath is very pretty and looks relatively easy to make too!
Hanka
20.11.2017 at 15:50It really is easy to make! 🙂 Thanks for your comment, Keri.
Rebecca @ Strength and Sunshine
20.11.2017 at 15:07That is such a cute idea!
Hanka
20.11.2017 at 15:51Thanks Rebecca!
Sarah Althouse
20.11.2017 at 16:35I hope to make some burlap crafts this winter too. Love how this turned out!
Chantal
21.11.2017 at 1:22This is absolutely beautiful. I’m going to pin it for next month!
Paula @ I'm Busy Being Awesome
21.11.2017 at 1:46You make this look so easy! I totally want to try making one this weekend:)
Angela
21.11.2017 at 3:55I love this idea! I am planning a supply trip to the craft store!
Hanka
22.11.2017 at 15:25Hurry up, Angela! I hope in your craft store they have lots of supplies! 🙂
Victoria with One Sharp Mama
21.11.2017 at 4:21I love Christmas crafts- especially with burlap material. So adorable
Hanka
22.11.2017 at 15:24Thank you, Victoria! Merry Christmas! 🙂
Hannah
21.11.2017 at 13:25I loved this post! I’ve been thinking that for the first time this year I will make our wreath so I’ve been looking for some inspiration – so this was perfect and I love it! Thanks so much for sharing.
Hanka
22.11.2017 at 15:23You´re very welcome, Hannah! Let me then know, how your wreath turned out! 😉
Danielle @ A Sprinkle of Joy
21.11.2017 at 13:42That turned out so beautiful! I love that it’s pretty easy to do as well!
Hanka
22.11.2017 at 15:23Thank you, Danielle!